I’ve always liked the look of bright red brake calipers behind good-looking wheels. Even before I got my Tesla Model 3, I knew I wanted red calipers. I researched the options and found these:
- Unplugged Performance offers a complete replacement for rotors and calipers for $9,000. Beyond my budget.
- T Sportline in the Los Angeles area will paint them for you for $1,200. Still more than I wanted to pay. And I don’t live near L.A.
- EVANNEX sells a set of red caliper “covers” for $290. They look okay, but it’s a weird way to get the results. And even still a bit pricey.
- ForMyTesla.com offers a DIY kit of epoxy paint and decals for $79. Now we’re talking! (Their website is a mess. As of writing this, I could only get there via ForMyMercedes.com since the ForMyTesla.com link wasn’t working at all in my browser. Others don’t seem to have a problem with it however.) Note that if you don’t want the “Tesla” decals, you can buy the exact same kit for 1/2 the price at many places.
Needless to say, I went with the least expensive option.
Of course, any project like this is nothing more than an excuse to buy tools, and in this case the tools cost well more than the project itself. In my case, I needed the following to do the project. All but the last were found at the local Harbor Freight store:
- 21mm socket with 1/2″ drive – $3.99
- Breaker bar to remove the lug nuts – $12.99
- Torque wrench, up to 129 foot-pounds – $19.99
- 3-ton low-profile hydraulic floor jack – $129.99
- Wheel chocks – $7.99
- Jack adapter – $35. If the URL doesn’t work, search eBay for “Tesla Model 3 Jack Pad Adapter Lift Point Pad”.
Total for the project: $288.18 plus shipping and sales tax. Same price as the EVANNEX option and I end up with (a) better results, and (b) tools I will use in the future.
The jack adapter is very important. There are only four specific points at which you can jack up your Tesla Model 3 unless you want to start removing panels from beneath the car to expose suspension points at which you can support the 2-ton vehicle. Even then, those would be the “unofficial” points at which to lift the car. Plus, without a full lift or jack stands, I prefer not to work underneath a jacked-up car. You might be able to lift the car from one corner high enough to place a jack stand under the other point on the same side, but even then I’d need four jack stands and three more adapters. So I decided to do one wheel at a time.
Here are the steps I took:
- Chocked the wheels on the opposite side.
- Used the breaker bar to loosen the lug nuts.
- Jacked up one wheel using the adapter.
- Removed the wheel.
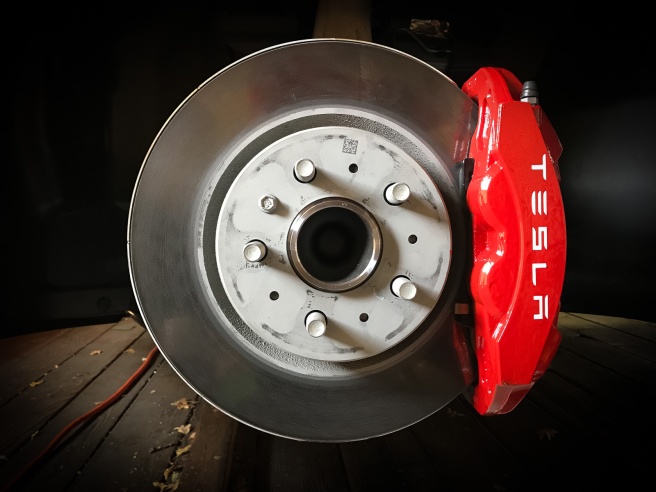
- Used the spray cleaner provided with the paint kit to clean the caliper.
- Masked off areas not to be painted such as the disk, pads, dust cover, etc.
- Mixed 1/4 of the red paint and the epoxy “activator” using disposable eye droppers and a paper cup, neither of which are included with the kit, which is designed to be mixed and used all at once. You can use it for two hours before it cures.
- Painted a first coat using a disposable 1″ foam-rubber brush (the kit includes just one brush).
- Waited 15 minutes, then applied a second coat.
- Waited two hours, then installed the decal.
- Sprayed a protective coating (to keep the decal from rubbing off during washing) using some stuff I had in the house.
- Reinstalled the wheel.
- Waited 24 hours before driving.
The jack adapter has a magnet that holds it in place to the frame of the car. That’s great, but it’s too easy to forget about it after you lower the car. I solved this by attaching it to the jack using a piece of string so that when I remove the jack, the adapter always comes off with it.
[Note: I think the jack adaptor is a great thing to keep in your car in case you need roadside service, etc.]
The kit from ForMyTesla.com was excellent. Good quality materials, good instructions and a fair price.
Because of the two-hour wait before re-mounting the wheels, this takes eight hours, plus the 24-hour wait before driving. Or spread it out over two days like I did. It’s actually less than one hour of work time per caliper.
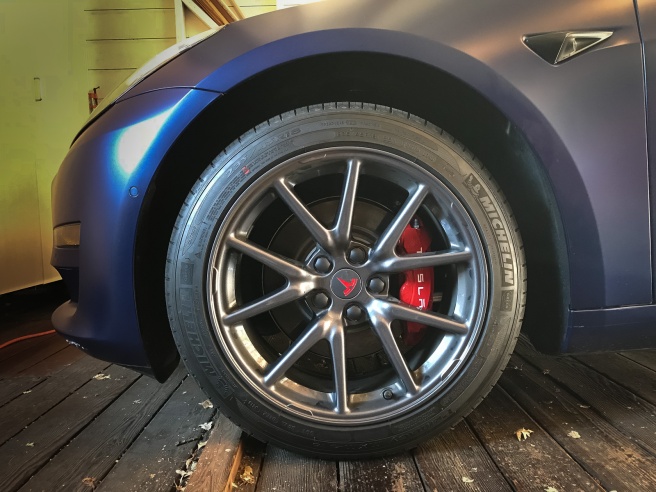
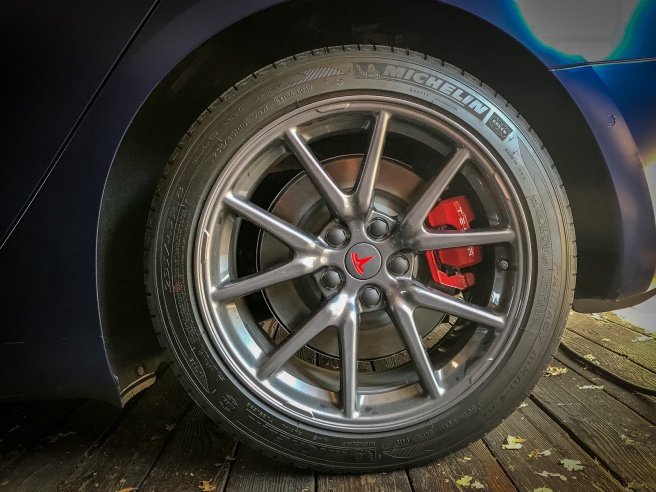
Oh yeah…what about that red logo on the wheel hub? First of all, these are the standard 18″ wheels with the aero covers removed. I added Tesla’s Aero Wheel Cap Kit for $50. Then I finished it off with the red T-logo decals from Tesla Pride ($9.75 from Amazon.com).
